Budget Feature Wall Makeover: Adding Interior Wall Panelling Without Cutting a Single Board
A budget feature wall makeover can give a plain room some character without sending you out to buy a saw. The trick is choosing pre-cut panelling and planning a simple layout before you order. Get every piece supplied at its finished size, and you can focus on fitting and painting.
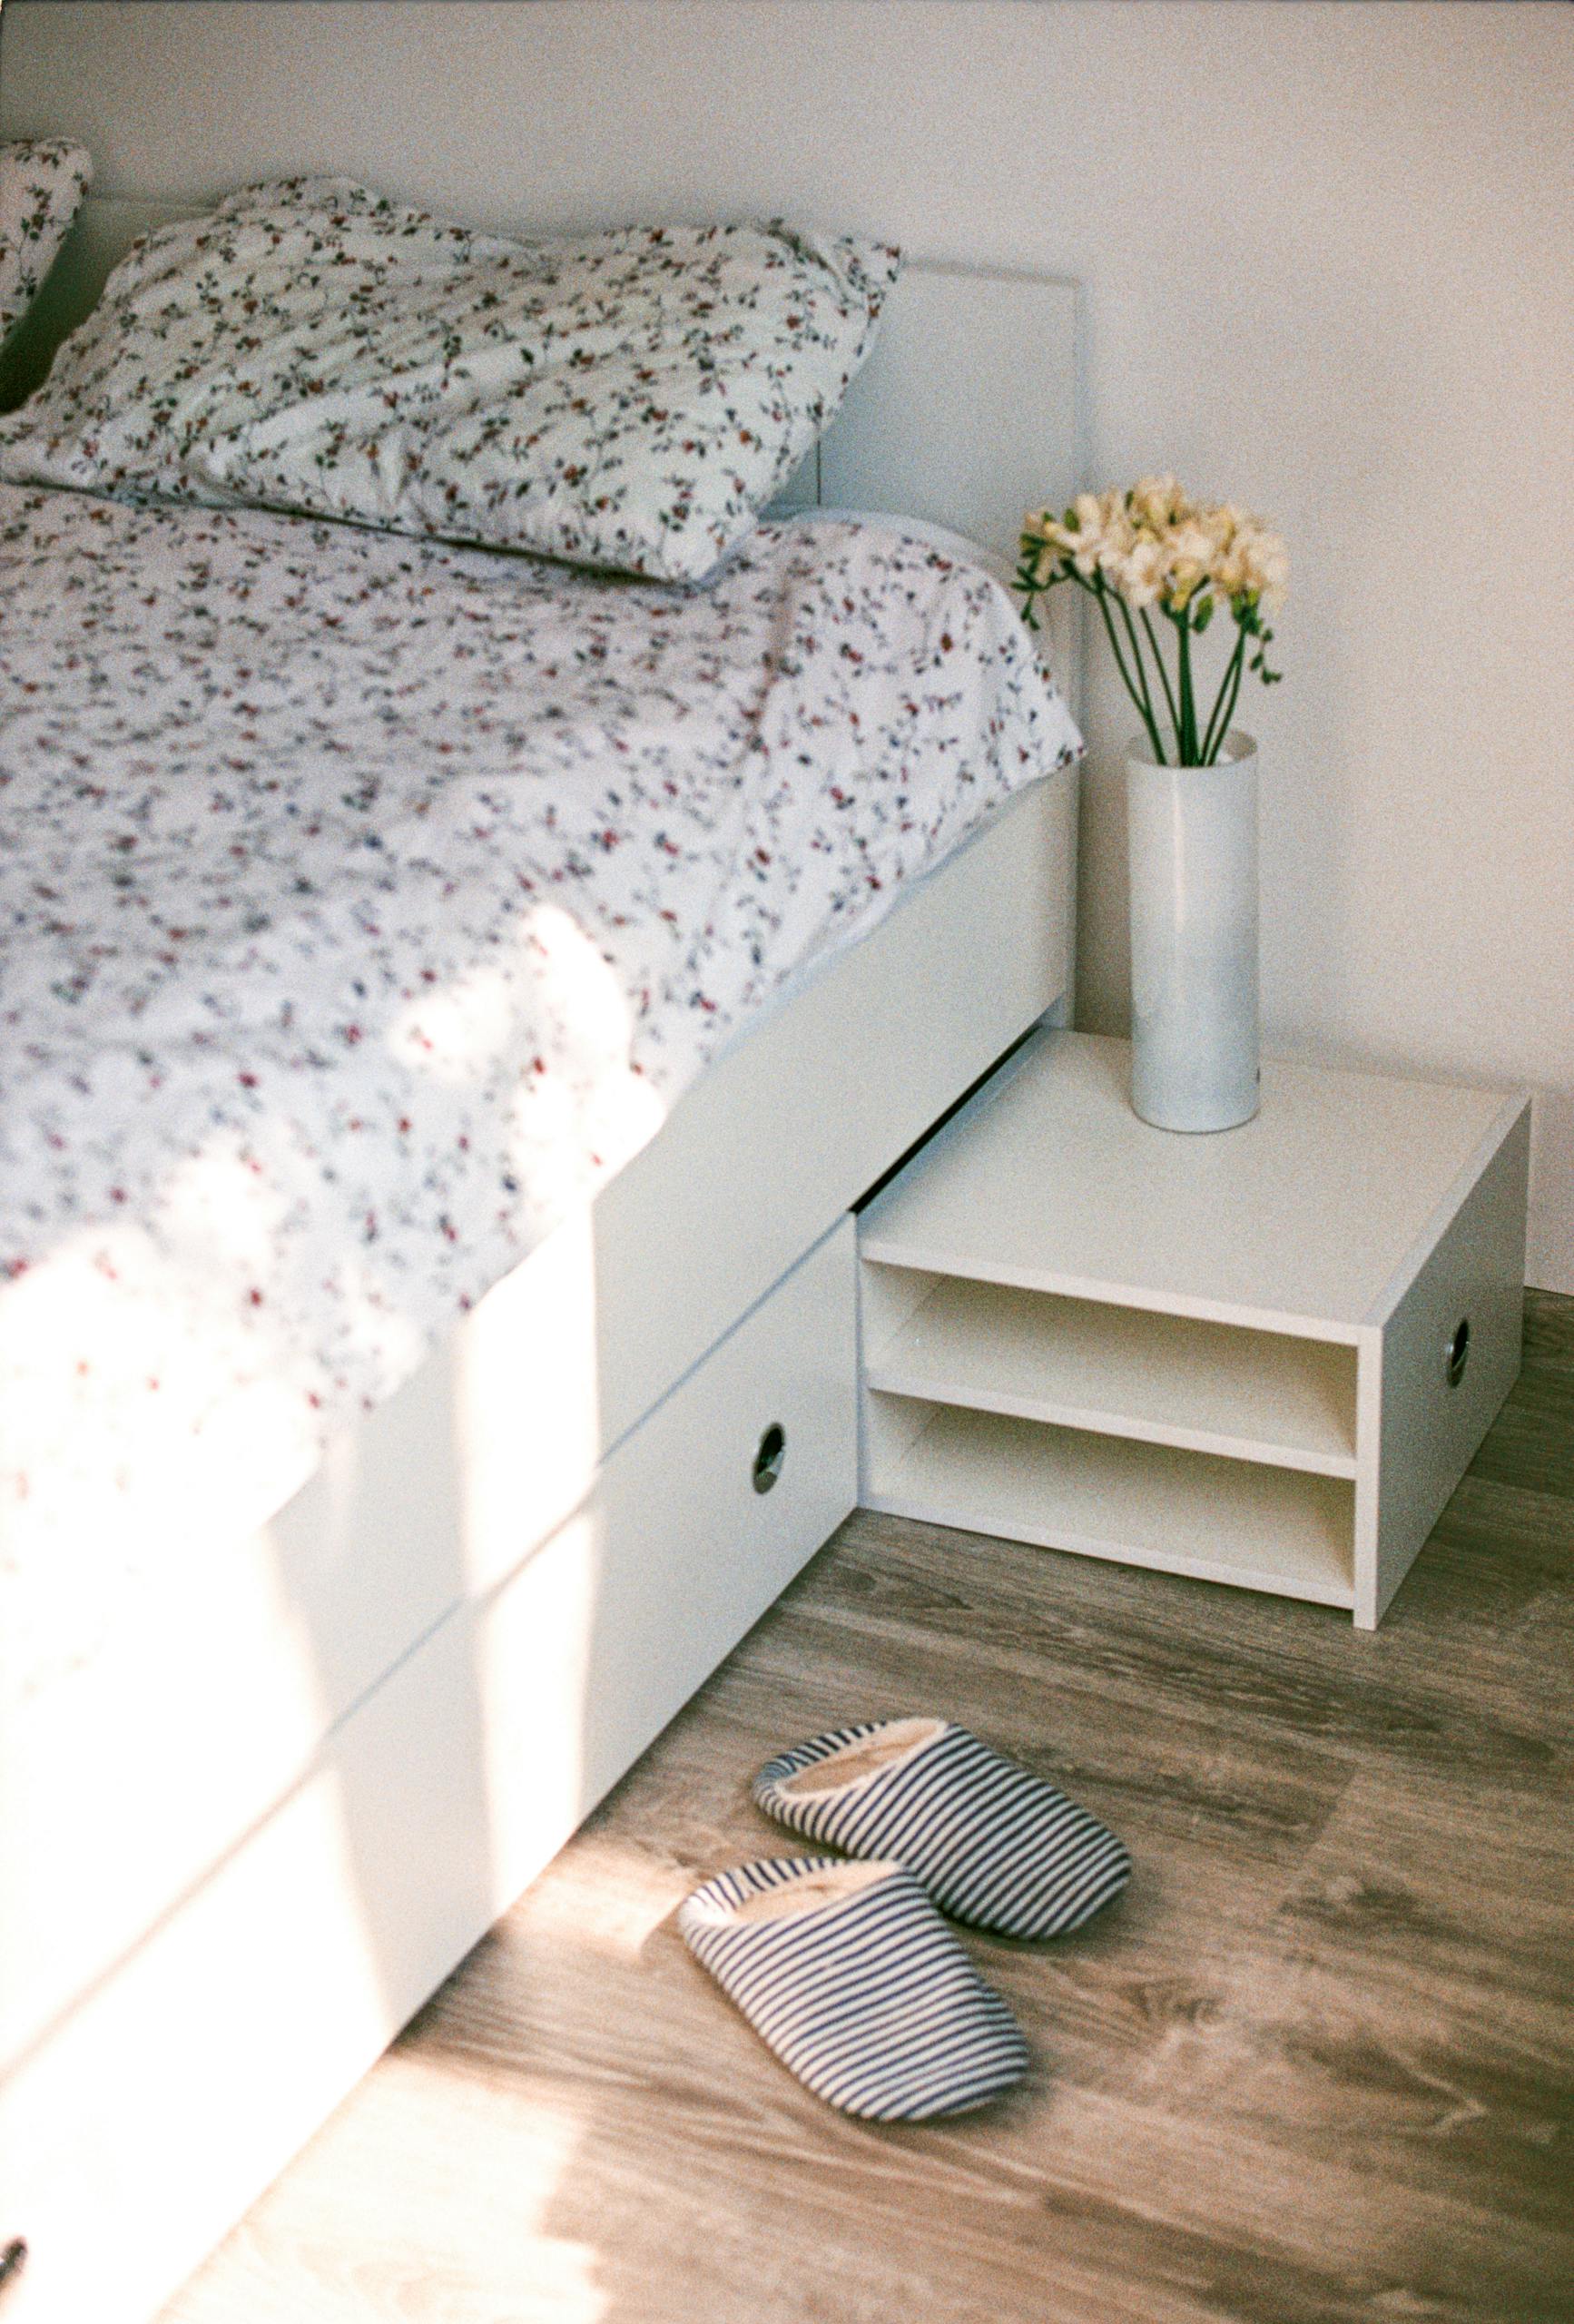
I like the idea of putting the decorating budget into one wall you’ll notice every day. Behind a bed, beside a reading chair or above a hallway bench, a little detail can make the furniture you already own feel more at home.
The important catch: “no cutting” depends on your wall and your order. Standard packs may still need trimming. Outlets, corners and uneven walls can also change the job. Here’s how to work out whether this approach fits your space.
Plan a budget feature wall that keeps the cuts out
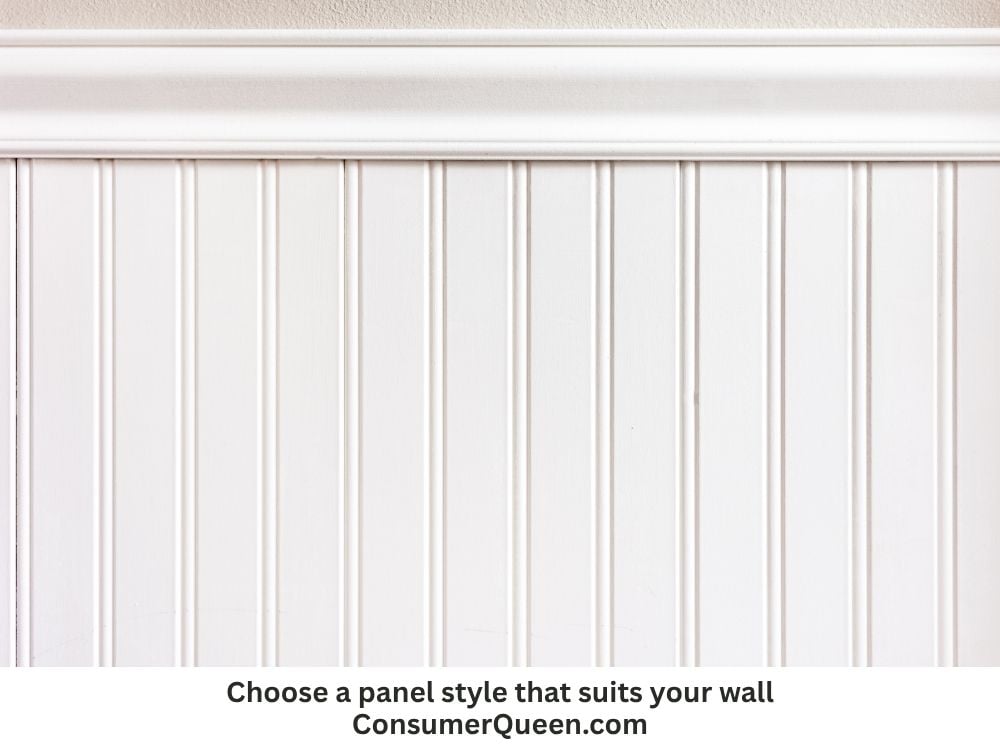
First, choose a flat, dry wall with as few obstacles as possible. A section with clear start and end points is easier to plan than a wall with windows, pipes and several switches. You can also panel a smaller area instead of covering the whole wall.
For example, a row of simple rectangular frames above a baseboard leaves the painted wall visible inside each frame. That gives you a decorative effect with strips, rather than solid sheets covering the entire surface. Keep the rectangles clear of outlets so you don’t need cutouts.
Before buying, sketch every vertical and horizontal piece. If the design includes angled corners, decorative trim or a top cap, ask how those parts arrive. A kit of straight strips won’t automatically include every finishing piece you’ve pictured.
Measure the layout, then ask what arrives pre-cut
Next, use painter’s tape to mark the proposed height and spacing. Put the furniture back in position and look from the doorway. A panel that disappears behind a headboard isn’t doing much for your decorating budget.
Measure the wall at several points and record the usable area above the baseboard. Check whether the floor, ceiling and existing trim are level. Then label each piece on your sketch, including its width, thickness and finished length.
When comparing interior wall panelling, look for a made-to-measure option that suits that drawing. Cut My lists custom-sized styles, including Shaker kits. Confirm the details of your chosen kit rather than assuming every product is supplied ready for your exact wall.
For a true no-saw project, ask the supplier to confirm all of these points:
- Every strip and rail will arrive at its required finished length.
- Any end trim, caps or corner joints are included or supplied to size.
- Your measurements account for existing trim and any required clearances.
- The layout avoids obstacles that would need trimming or cutouts.
Also check the units before submitting an order. If your tape measure uses inches and the order form uses millimetres, convert carefully and double-check the result. For U.S. readers, this is a UK retailer, so confirm delivery to your address and the full delivered cost before planning around it.
Budget for the whole feature wall makeover
Pre-cut pieces can spare you the cost of buying cutting tools for one job. However, the panel price alone won’t tell you what the makeover costs. Compare the total with locally available options, including any cutting service.
Write down these costs before placing the order:
- Panelling and delivery: include finishing strips and any custom-sizing charges.
- Wall preparation: allow for repairs, filler and suitable abrasives.
- Fitting supplies: check adhesive, suitable fixings and any tools you need to borrow or buy.
- Finishing: count primer if needed, paint, paintable caulk and brushes or rollers.
To keep the scope manageable, start with one uninterrupted section. Use supplies you already have only when they suit the material and installation instructions. A leftover tin of paint is useful; the wrong adhesive is an expense waiting to happen.
Check the pieces before you reach for the adhesive
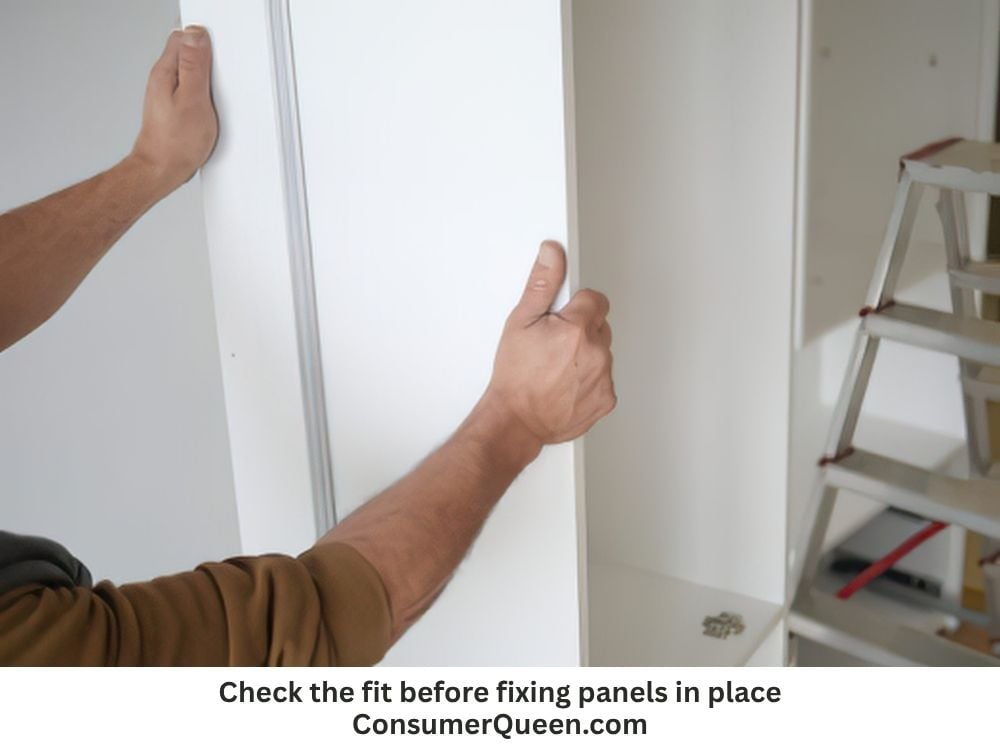
Once the order arrives, unpack it and compare each piece with your labelled sketch. Lay everything out in fitting order. Then hold the pieces in position to check the fit before attaching anything permanently.
Cut My’s Shaker guidance calls for a smooth, clean, dry wall. It also explains that uneven walls may need additional fixings. So, check the wall condition first and follow the instructions for your kit, adhesive and wall type.
If a piece doesn’t fit, stop and check the measurements with the supplier. Don’t force a long strip into place or count on caulk to hide a large gap. That check is especially useful when your whole plan depends on leaving the saw in the store.
Then work through the fitting order in the kit instructions, checking alignment as you go. Leave adhesive to cure as directed before finishing. Pre-cut panelling removes a cutting task; wall preparation and drying time still belong on the schedule.
Finish the wall without buying a roomful of decor
After fitting, deal with joints and small gaps as the product instructions recommend. Unfinished MDF will need a suitable primer before painting; check whether you ordered a primed option.
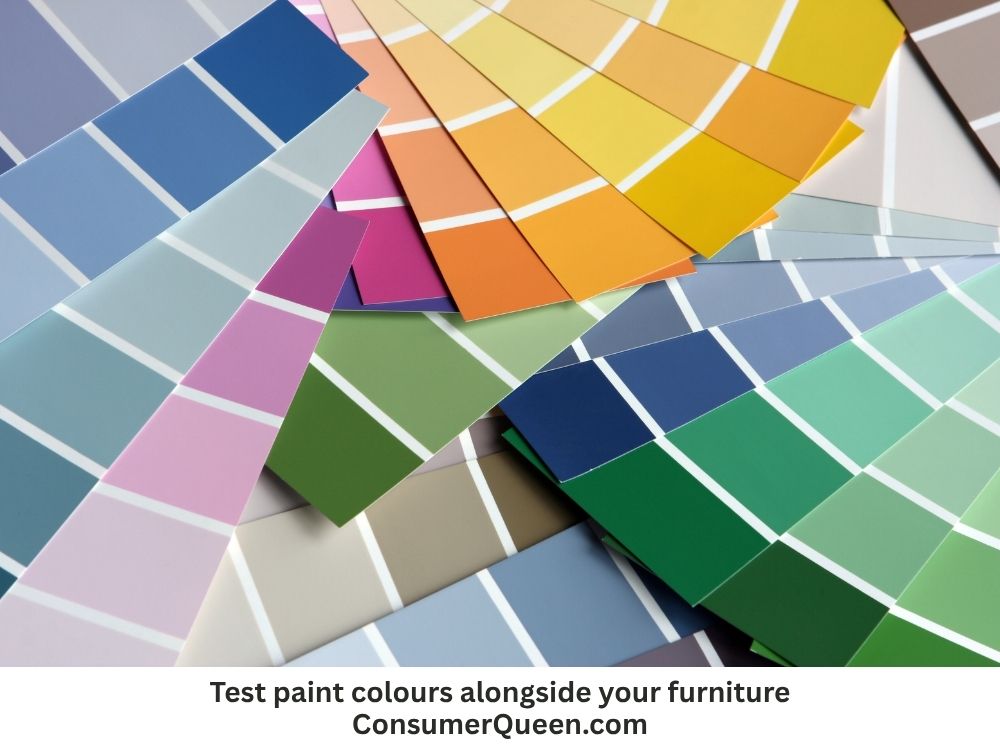
For the colour, test a sample beside your existing furniture in daylight and lamplight. I’d start there before buying new cushions to match a shade chosen on a screen. Painting the strips and background the same colour is one way to let the raised detail stand out quietly.
Finally, put back the lamp, artwork or side table you already enjoy. If you’re still deciding where to spend, our living room upgrades that make the biggest difference for your money can help you weigh the wall against other changes.
Questions to ask before starting
Can I really install panelling without cutting?
Yes, if every component arrives at its finished size and the layout needs no site cuts. Check trim, joints and obstacles with the supplier first. A standard-size panel or strip pack may still need trimming.
Is this a removable option for renters?
Don’t assume so. Adhesive and fixings can damage paint or plaster during removal. Get your landlord’s written permission and agree on restoration before installing permanent panelling.
What makes a budget feature wall worth the effort?
Choose a spot you’ll enjoy, order only after checking the full cost, and keep the design within your skills. A carefully planned wall can feel finished with the furniture you already own. That’s where I’d want the money to go.