DIY Vegetable Garden Stakes
These DIY Vegetable Garden Stakes are a fun project to add some color to your vegetable garden!

DIY Vegetable Garden Stakes
If you've seen a few of our latest posts here at Consumer Queen you may know we are in full swing with outdoor projects and gardening!
Our vegetable garden does take a lot of time but it's a great way to be outdoors and get some much needed sunshine! If you are thinking of starting a garden, head over here to read some of our gardening posts. We have info on basics and also a few larger projects if you're ready to tackle a larger DIY!
These Vegetable Garden Stakes were just a fun little project we wanted to do. Honestly you can just a set of Garden Stakes to your Amazon cart if you want, but if you're have the time and are even a little bit on the crafty side, this is a super easy thing to do!
How to Make:
We just started with regular kitchen flatware. If you don't already have an older set sitting around, there are plenty of low cost flatware sets available at thrift stores, garage sales and discount stores.

If you aren't able to get to the thrift store, my recommendation would be to look at discount stores like Dollar Tree, Dollar General, Big Lots, or your local bargain store. Look for flatware that is actually pretty thin and pliable.
You can also find some low cost spoons on Amazon if you don't have a store nearby that sells any.

Purchase enough spoons to allow a stake for each type of vegetable or plant you want to mark. If they are less than a dollar each (ideally), buy an extra in case one bends too much or ends up breaking. 🙂
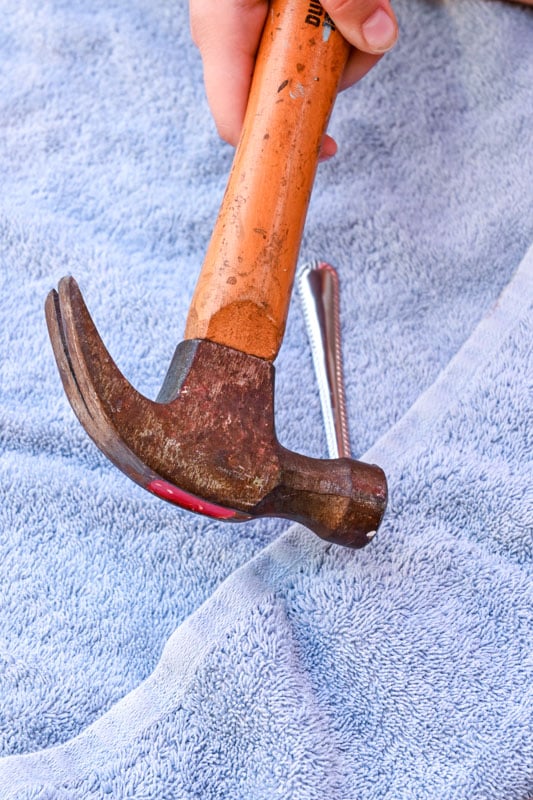
Hammer Garden Stakes Down Flat
You will need a kitchen towel and a regular hammer and a solid surface to work on. Be sure to take proper safety precautions using the hammer on the hard metal. If you're letting the kids help, this step would be better to do for them!

We hammered them down so that the curved parts of the spoons were then flat. If you skip this step, your spoons will face the ground when you plant them in the dirt, and you can't easily see your markers very well.
After this step is done it's time to paint– and the kids can take over if they want!

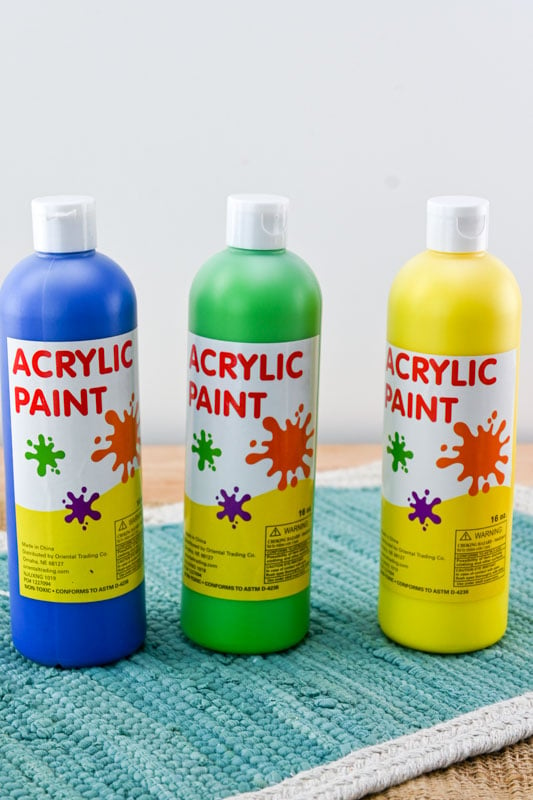
You will need Acrylic Paints, brand does not matter. Whatever you have in the house should work, but we recommend doing some bright and fun colors!
If you only have one color that will work too, you can still decorate each stake differently or have them all match, if that's what you prefer.

Time to Paint!
This is the fun part, of course. These craft paint brushes worked well on the metal, and although I've heard negative things about the holes in the sponge-type brushes I can say they worked just fine for this project.
Again, use what you have around the house. Smaller paint brushes will work better since they are a little easier to get into the curved front of the spoons. tippmix sportfogadás We used this little pallet which can be picked up for just a few dollars.
You can find an acrylic paint set here if needed.

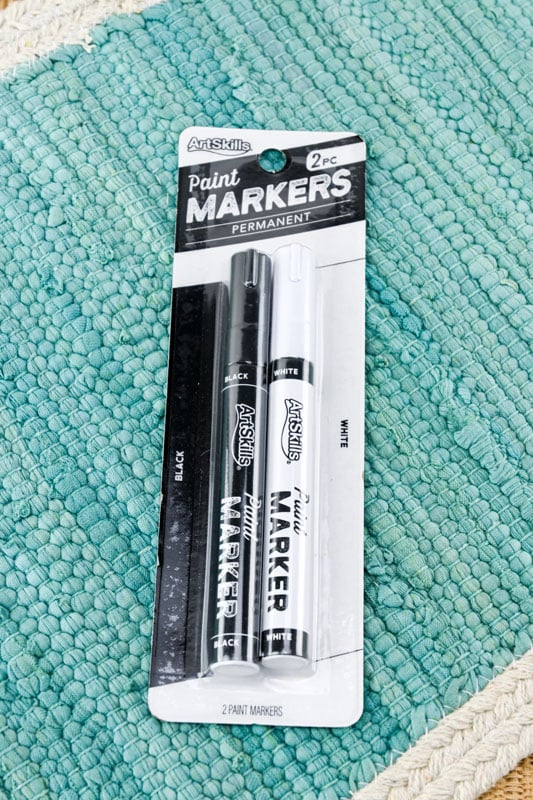
After the paint is fully dry — at least a couple hours– You can use a permanent marker to write your labels. We found these matching black and white permanent markers which is exactly what we needed for the Vegetable Garden Stakes. I found these at the craft store but you can purchase a set on Amazon here too.
Both colors showed up great against the bright acrylic paints!

If you aren't sure whether the acrylic paint is dry yet, you can test it out by just lightly dotting the surface of the spoon. We had a couple the girls did polka dots or flowers on, so you can try it out first this way.
We just free hand drew the names of our vegetables on the fronts of the spoons. It's really not difficult at all! You can keep a lightly moistened paper towel handy for quick fixes.

If you have younger kids, let them have fun and make the designs. You can always do the writing and let them decorate the rest if needed.

Seal Your Vegetable Stakes
The last thing we did on this easy project was to seal the garden stakes. If you skip this step the paint may flake off or wear off in the elements.
We used Minwax Water Based Polycrylic Protective Finish. This spray on was super easy to use and worked well.

Be sure to use outdoors for proper ventilation. I found a Clear Satin finish for our stakes.

That's it! J love how these turned out and add a pop of color to the garden! If you have a gardener in the family like a parent or grandparent, this would make a fun gift idea from the kids! See your DIY instructions below. Be sure to check out more DIYs from Consumer Queen at the links listed below.
Print or View your DIY Instructions Here
Yield: 6+
DIY Garden Stakes Using Old Spoons

This DIY is a must for your garden!
10 minutes
1 hour
6 seconds
1 hour 10 minutes 6 seconds
Easy
Under $10
Materials
- Metal flatware spoons
- Acrylic Paint in desired colors
- Polycrylic Clear Coat Spray- see post for the one we used.
- Black and White Permanent Markers
Tools
- Craft Paint Pallet
- Craft Paint Brushes (small)
- Regular hammer
- Towel
Instructions
Hammer Spoons Flat with folded towel over to help avoid any slipping of the hammer off of the spoon.
Paint spoons (less coat the better, darker colors work best. I might try a different paint next time other than acrylic)
Once dry write on stakes with paint marker.
Spray with Polycrylic Clear Coat Spray in a well ventilated area, according to directions on can.
I only painted the front side of the spoons but you can paint both sides!
Mark your veggies and fruits with these colorful stakes when dry!

How to Trap Those Pesky Fruit Flies DIY


We use plastic knives because there always seems to be so many left over from our Costco cutlery packs.
Nice!