DIY Solar Mason Jars
Solar Mason Jars go where you need them without the expense of installing permanent lighting. And they are so fun to make! See below how to make mason jar solar lights.

DIY Solar Mason Jars
Lighting is one of the simplest ways to add appeal to your outdoor spaces and walkways. These Solar Mason Jar lights have become a favorite for many of us, not only because they are so versatile but they are also fun to make! You can really make these your own, by adding your own colors or even designs to your jars. See the easy tutorial below!
Why Place Solar Lights?
Solar lights are small, easy to place, low maintenance, and quite affordable. They easily add light where you need it most without the hassle and hefty expense of installing permanent lighting. We have a lot of options available to buy solar lighting, so if you’re in the market for a set and aren’t sure about making your own like in this tutorial, read from experts like Solargenerator.guide or head over to our Awesome Solar Lights post where we’ve rounded up a few shopping links from Amazon.

DIY Solar Lights Tutorial:
For those of us who like to change things up ever so often, this is as temporary or permanent as you want it to be. This project was simple, fun, and yielded stunning results.
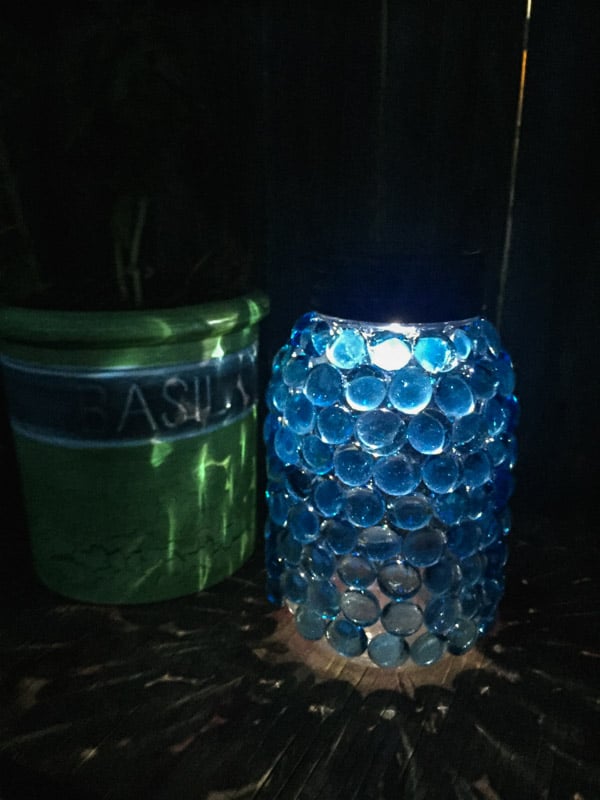
We have a few creative people in our family, and I actually love the idea of mixing up the colors on the glass beads. I have blue shown since we made this blue beaded set, but we also like adding in other colors for more variety.
Supplies:
- 6 Pack Regular Mouth Solar Light Lids With Fairy Lights or find more mason jars with fairy lights.
- Regular mouth Mason Jars
- Glass beads
- Hot glue
- e6000 or adhesive caulk or Clear Gorilla Glue

Some explanation if you're not familiar with Solar Light Lids:
To make this project, one thing you absolutely will need is solar light lids. There are lots of different solar lights for mason jars but we love these solar mason jar lids we found.
These are lids compatible with Mason Jars, that have a small solar panel, attached to LED “fairy lights” which will drop down and go inside your Mason Jar.
Regular mouth mason jars are what you will need for this project. (Solar light lids linked here will not fit on wide mouth jars).
You will need glass beads of your choice that have a flat side for gluing. You can find them on Amazon (linked) or just pick up at Dollar General, possibly Dollar Tree, or the craft stores.
It took approximately 1 1/2 bags for each jar, so 6 bags total to cover 4 jars.

Making Your DIY Solar Mason Jars:
Check to make sure all of your solar light lids are in working order. You might have to set them in the sun for a few minutes. As soon as you're good to go, set those aside and start on the fun part- gluing the glass beads to the jars!
Simply start gluing the beads on starting around the top of the jar just beneath the lid and worked your way around and down. I stopped about 1/2 inch from the bottom to ensure my jar would sit level.
Placement and Durability:
If you're placing your Solar Mason Jar lights outside consider using clear silicone caulk for durability with temperature changes. Lastly, place your solar light lids on, and they are done.
I recommend placing them out of reach of kids, and not close to where they could fall and break.
I would also keep them out of any area containing a lot of water– they say they are waterproof but be smart about where these are placed! I wouldn't want to test it out and have my beautiful jars ruined by a heavy amount of water coming off the house in a rainstorm!
These solar mason jar lights look stunning on your window sill, porch steps, and patio table! Allow to charge in full sun 6-8 hours for the brightest and longest glow.

I hope this tutorial has inspired you to start creating your very own DIY solar mason jars. Not only do they make charming decorations for your home or garden, but they're also a great way to reduce your carbon footprint and save on energy bills. Share your own creative twists on this project in the comments below!
Be sure to let us know if you tried this DIY! You can find the Consumer Queen Hot Deals Facebook group linked below. Be sure to stick around to see other great DIYs and Lifestyle posts! Happy Crafting!
-
Grow Bag Garden Deal: Save 50% on FEED GARDEN 20 Gallon Grow Bags
Gardeners can save 50% on this Grow Bag Garden Deal! The FEED GARDEN 20 Gallon Grow Bags 8-pack features durable 300G fabric, reinforced handles, and a breathable design for growing vegetables, flowers, herbs, and more.
-
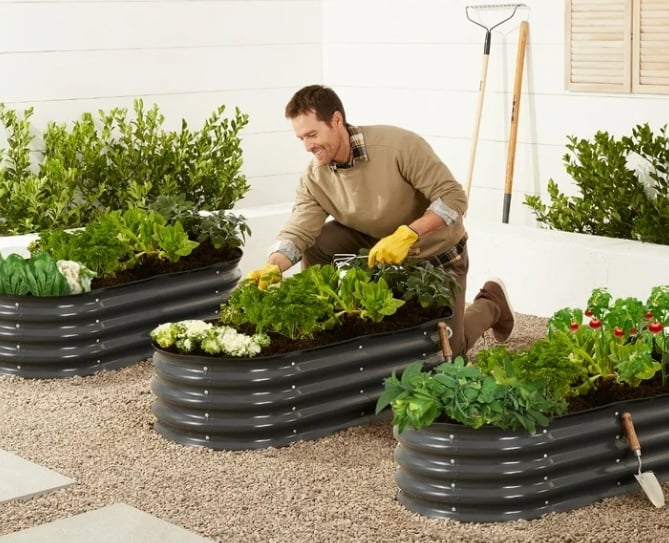
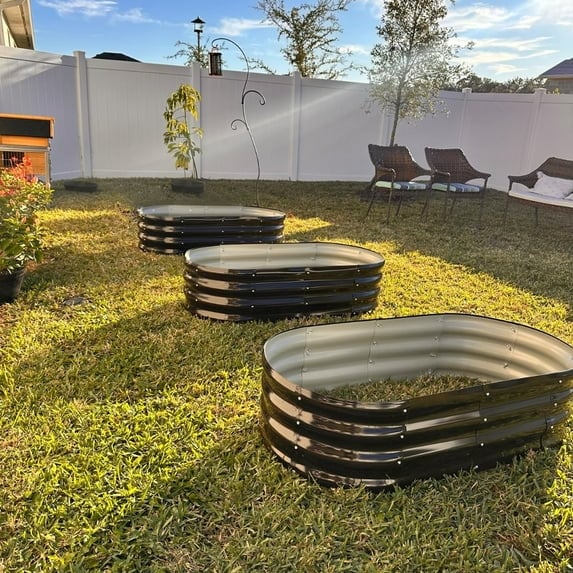
Walmart Has A Raised Metal Garden Bed Deal For Summer Veggies
This Walmart raised garden bed deal is a smart pick if you want to grow more this season. It is also great if your yard situation is less than ideal. Because honestly, not every backyard is blessed with perfect soil. Some of us are working with clay, weeds, and vibes. Right now, Walmart has the…
-
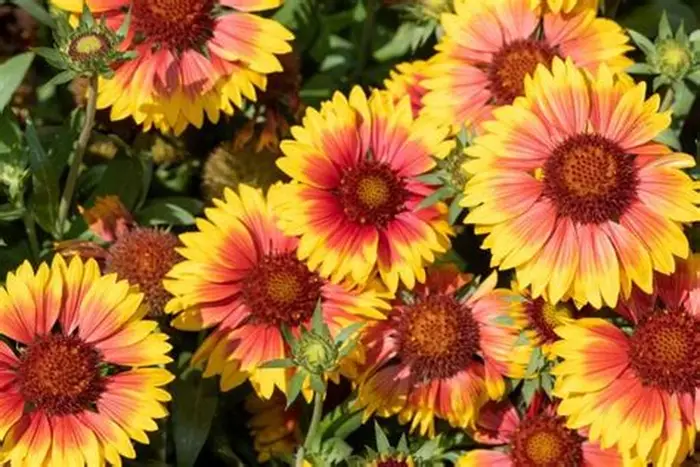
10 Drought-Resistant Perennials That Bring Color to Your Garden
Discover 10 drought-resistant perennials that add lasting color, beauty, and low-maintenance charm to your garden.
-
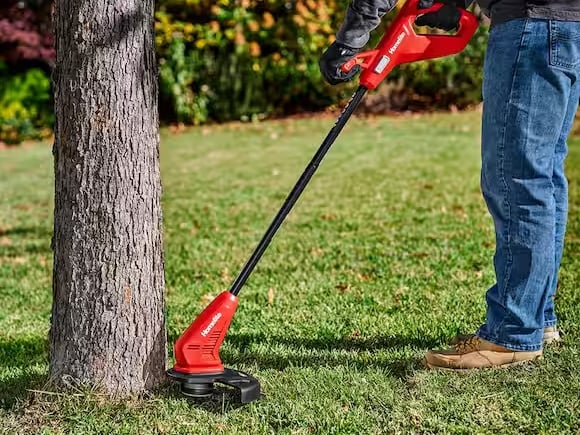
Spring Yard Cleanup Made Easy With These Homelite Cordless Yard Tool Deals
These Homelite cordless yard tool deals at Home Depot are perfect for quick yard cleanup this season. Lightweight tools make trimming and blowing debris much easier. They are also simple to store and easy to use. Spring and summer yard work can pile up fast. Having the right tools makes a big difference. Cordless tools…
-
Walmart Raised Garden Bed Deals Are Up to 54% Off Right Now
These Walmart raised garden bed deals are a smart find for spring planting season. If we are planning vegetables, herbs, or flowers, raised beds can make the whole setup easier. They help define the space, look tidier, and usually mean less bending and less mess. That alone deserves a slow clap. Walmart has two SnugNiture…
-
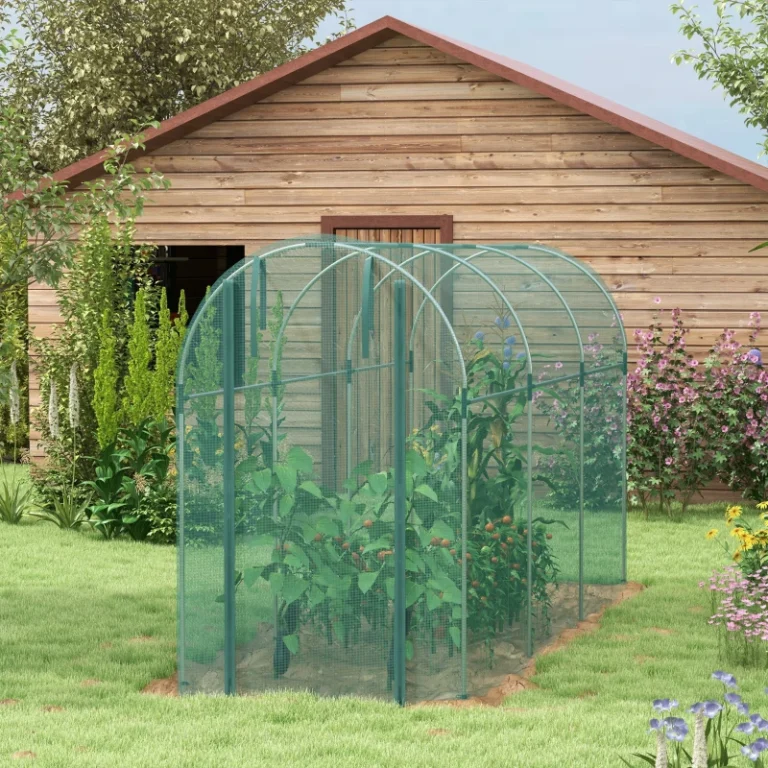
Aosom Greenhouse Deals: Mini Greenhouses and Crop Protection Picks for Spring Growing
These Aosom greenhouse deals are worth a look if you are seed starting, protecting tender plants, or trying to keep rabbits and surprise cold snaps from wrecking your work. A simple greenhouse or crop cage can buy you a lot more control without the price tag of a full backyard greenhouse. What makes these picks…


Basil is another one of those plants (like Marigolds) which prevent worms in the soil from proliferating. Tomato Horn-worms do not like basil, so it’s a great little companion plant to keep your tomato plants growing well. It may also improve tomato flavor! Win win! See my My Top Reasons to Grow Basil.

Gardening can be very intimidating because there is so much to learn and lots of research that can be done. If you're new to gardening check out these 10 Vegetable Garden Mistakes and How to Avoid Them!
More Mason Jar Ideas Here:

DIY Mason Jar Office Hack with Sugru Mouldable Glue


- Dorm Storage Sale: Save Up to 50% on College Essentials at Target
- Ninja PossibleCooker Deal: Save $30 on the 8.5-Qt PRO Multi-Cooker at Target
- Washable Area Rug Deal: Save 55% on an 8×10 Vintage Rug at Amazon
- Patio Umbrella Deal: Save 80% on a 10-Foot Cantilever Umbrella at Amazon
- Ollie Dog Food Deal: Save 70% Off Your First Box Plus Free Gifts
Join Our Facebook Groups
- Consumer Queen Crest Foods Deals
- Consumer Queen Homeland Group
- ConsumerQueen Brown Box Shoppers, Glitches and Free stuff!
- Frugal Living Tips and Tricks That Work
- Easy Slow Cooker Recipes – Dump and Go Crockpot Meals
- Easy Delicious Recipes- Just Like Grandma Used to Make
- Air Fryer Recipes – Easy and Delicious
- Instant Pot Community – Instant Pot for Beginners
- CQ Oklahoma Natural & Organic Support Group
- Consumer Queen Black Friday Deals & Hot Online Deals & Coupon Codes!
- Homesteading for Beginners- Off the Grid, Canning, Gardening & more!
- Explore Oklahoma – Oklahoma Day Trips, Oklahoma Restaurants & Things to Do
- Roaming My Planet Travel Fan Page
- Shop Local Oklahoma
Have you joined our Facebook group yet? We have members who share deals, recipes and lifestyle tips with each other. Click here to join and start saving with us today.
Want MORE DEALS? Check out AMAZON FACEBOOK GROUP where we post deals and codes for up to 75% off Amazon products.
People shop at thrift stores for different reasons. Some people are on a tight budget and need to stretch their pennies as much as possible and some people just love the thrill of the hunt! Thrift store shopping has the potential to save you lots of money while furnishing your home and clothing your family. Check out these Thrift Store Tips.
Did you know there are a ton of coupons and deals that you can score every year on your birthday? Check out the Consumer Queen Birthday Freebies Roundup that we have put together.


Where did you get the solar jar lids from? Can’t find any around here.
Hi Carol, the link to the solar light lids are in the post. You’ll see the words “solar light lids” are highlighted in a different color than the rest of the words – that’s a link. Just click on the solar light lids from the list of supplies and it will take you right to them 🙂
Can you send me an email where I can buy solar lids? I did this project already. I used n gluegunbut after a few days the gobbles came loose. What do I do wrong?
Hi Muria, it’s probably the typeof glue you used in the gun. There are a couple of other options mentioned in the post that you might want to use. Especially if you have extremely cold or hot weather where you’re located. Hope this helps. 🙂
Could be the type of glue, or I dont do a lot of crafts and I was putting the glue on the marble first then putting the marble on the jar. It worked 100 times better to put the glue on the jar first then put the marble on. Hope that helps! Here is one of mine!
Thanks for the tip Brittany
Thanks ,im going to try this
Let us know how it works out 🙂
Thank you for the tip.
You’re quit welcome Althea! 🙂
Where do you find the Mason jar solar lids
Hi Judy, you can find several here – prices vary —> https://amzn.to/3fefLP4 Let us know how your lights turn out 🙂
A picture of the finished product in use, as in after dark and glowing, would be nice. What is this supposed to look like?
Hi Jodie, That’s a great idea – we’ll have to do that. It glows a pretty blue color 🙂
I am wondering if you could use spaghetti jars instead of mason jars for this project
If you try it let us know, we just love the look of the mason jars
I do a lot of crafts and use hot glue guns so speaking from experience when items using hot glue are in the hot sun they soften back up and very often come off. If you’re using these inside the glue gun will probably be great but if you’re placing them in direct, outside sun I would definitely go with e6000 or caulk/grout.
Thanks for the info Reba! 🙂
You could also use Pinflair Silicone glue which is great for projects going outside.
I didn’t use hot glue because I didn’t want it to soften, so went with e6000. The marbles/beads were heavy and kept sliding off during the process. I have the jar wrapped with saran wrap while the glue dries in hopes they stay put. Next time I will try the caulk.
I have not ordered kids, yet, but am going to place battery operated fairy lights in mine to start and get an idea of how it looks. If it works, and I like the look, then it will work for indoors, too.
Fingers-crossed the glue hold! 🙂
Thanks for sharing!
This might be a silly question – but do the solar lids have a string of lights connected to the lid that goes down into the jar? Some of the caps llok like they don’t have lights attached.
Hi Brenda, you use solar light lids for this craft. The lids charge during the day using the sun then glow at night. No string lights are needed. The solar panel light is in the lid of the jar. Hope this helps 🙂
That was my question too! I have followed the links, tried again, exited and did it again… And still I’m getting kids with lights attached. Basically battery operated. And each time I’m clicking on your “solar” word.
Do you have a more direct link? I’d love to buy them and have it count for you (so you earn your 2.1 cents or whatever :)) but where it goes now, they are not what’s in your tutorial! 🙁
Hi Andrea, we’ve recently updated links and hopefully made it much easier to find the products in the DIY! ~CQ Team
I have made these and they are beautiful!
These are so cute… I would use pink and purple gems as those are my favorite colors… I absolutely love solar light.. I think I get a different one or few all the time…
ohhh, Those colors would be pretty, too!
very cute
Thanks!
My wife will love this!
I bet she would too!
Thanks for the idea! I have been wanting to get solar lights for our campsites throughout our property!
These would be great for the campsite!
Great idea, thanks!
You are so welcome!
So cute! I wonder if it would work to just fill the jar with beads instead of gluing them to the outside? I may try it that way and if it doesn’t work then glue them to the outside. I think these would be great on my patio at night.
That’s a possibility, I just love the look of these 🙂